
 |
| Image credit spisharam on Flickr |
 |
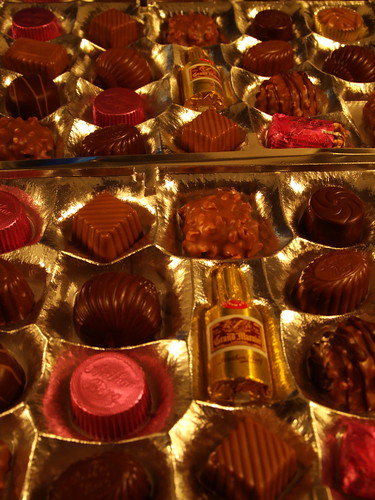
| Image credit mathias-erhart on Flickr |
 |
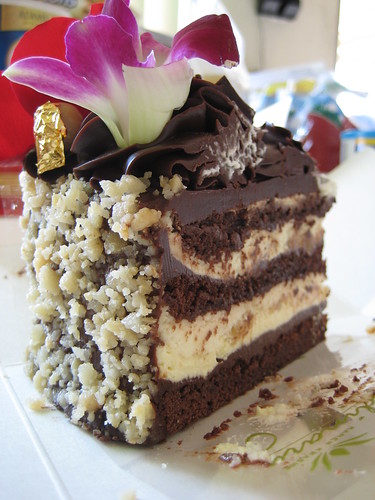
| Image credit mrtruffle on Flickr |
1. Have an idea of what you are looking for. If it still pretty vague, that is OK--I have tons of fun
2. Open separate windows for your blog post and for Flickr. Make sure that you are in the advanced search page on Flickr, and enter your search terms (in the pic below, I am searching for a chocolate dessert). Before you hit search, check "Only search within Creative Commons licensed content". This is important--you do not want to steal other people's work!


3. Once you find a pic you like, click on the picture. The new page will show the pic, and just above will be a star with favorite, actions, and other links. The easiest thing to do is to click on the little arrow pointing down for more ways to share, scroll down to "Grab HTML/BBCode", and copy the code. (To copy it, highlight the whole code, and then hold down Ctrl and c).
 |
| Doesn't this one look good? |
4. Next, go back to your blog post and make sure that you are in Edit HTML mode. Paste the code that you copied (Ctrl and v at the same time), and then switch back to Compose. You should be able to see the image. If you click on it, you can see the link back to Flickr so that proper attribution is made. You can also change the size or align it to left, right or center, and add a caption. Viola!
 |
| What the HTML screen and code look like |
 | ||
| Do your happy dance! |
Now, if you are not able to grab the HTML code, there is an alternate way to do it. Follow steps 1, 2 and 3 up to the point of clicking on the picture and getting to the page with Favorites and Actions. Click on Actions and go to View all sizes.
4. Choose the size you want (I usually just go with the medium 500 size) and download it to your computer and save the file. MAKE SURE YOU LEAVE THE FLICKR WINDOW OPEN! If you are like me and automatically close windows, this can cause a major headache of having to go back through and find the photo again.
5. Back in your blog post, click on the little icon to add image, and upload. Click Choose Files and browse your computer downloads until you find the pic, then click open to upload. When you see the small pic, it should have a highlighted frame. If it doesn't, just click on it to highlight it. Then click add selected.
6. Hooray! You added the pic! Pat yourself on the back, and eat some chocolate. But wait! You still need to make sure that the person who took the image gets credit for it. Click on the pic and choose add caption. Then click on link. Go back to the Flickr page, copy the link and then go back to the blog window and paste the link. If you like, you can put the text to display as Image credit [whatever their user name is] on Flickr. Preview your post to make sure it looks the way you want, and then go enjoy that piece of chocolate, or better yet, make the cake from the tutorial pic. :)
No comments:
Post a Comment